
Tinkercad Circuits: The Digital Meeting Point of Design, Engineering, and Coding
One of the first obstacles faced by anyone wanting to step into the world of electronics is the cost of hardware and the risk of circuit components burning out due to faulty connections. Developed by Autodesk, Tinkercad Circuits completely eliminates these obstacles, allowing us to perform 3D design, circuit design, and coding directly in a browser.
In this article, we will examine the engineering journey of a project, from idea to simulation, specifically using Tinkercad.
1. Visual Design and User Experience
One of Tinkercad's strongest points is its user-friendly interface based on drag-and-drop logic. When starting a project, you can focus not only on technical details but also on the placement and aesthetics of the components.
- Component Library: Offers a wide range of components, from LEDs and resistors to Arduino boards and complex sensors. - Organization and Aesthetics: You can organize your circuit diagrams by customizing wire colors, creating a clean workspace suitable for engineering disciplines.
2. Engineering and Circuit Logic
Building a circuit isn't just about connecting wires; it involves serious mathematics and physics. Tinkercad provides real-time feedback at this point. For example, if you apply a high current to an LED without connecting a resistor, you will receive a visual warning during the simulation that the LED has blown.
Testing fundamental principles like Ohm's Law, which we frequently use in engineering calculations, on simulations accelerates the learning process:
V = I * R
Note: The purpose of simulation in engineering is to minimize errors and reduce costs before moving to physical production.
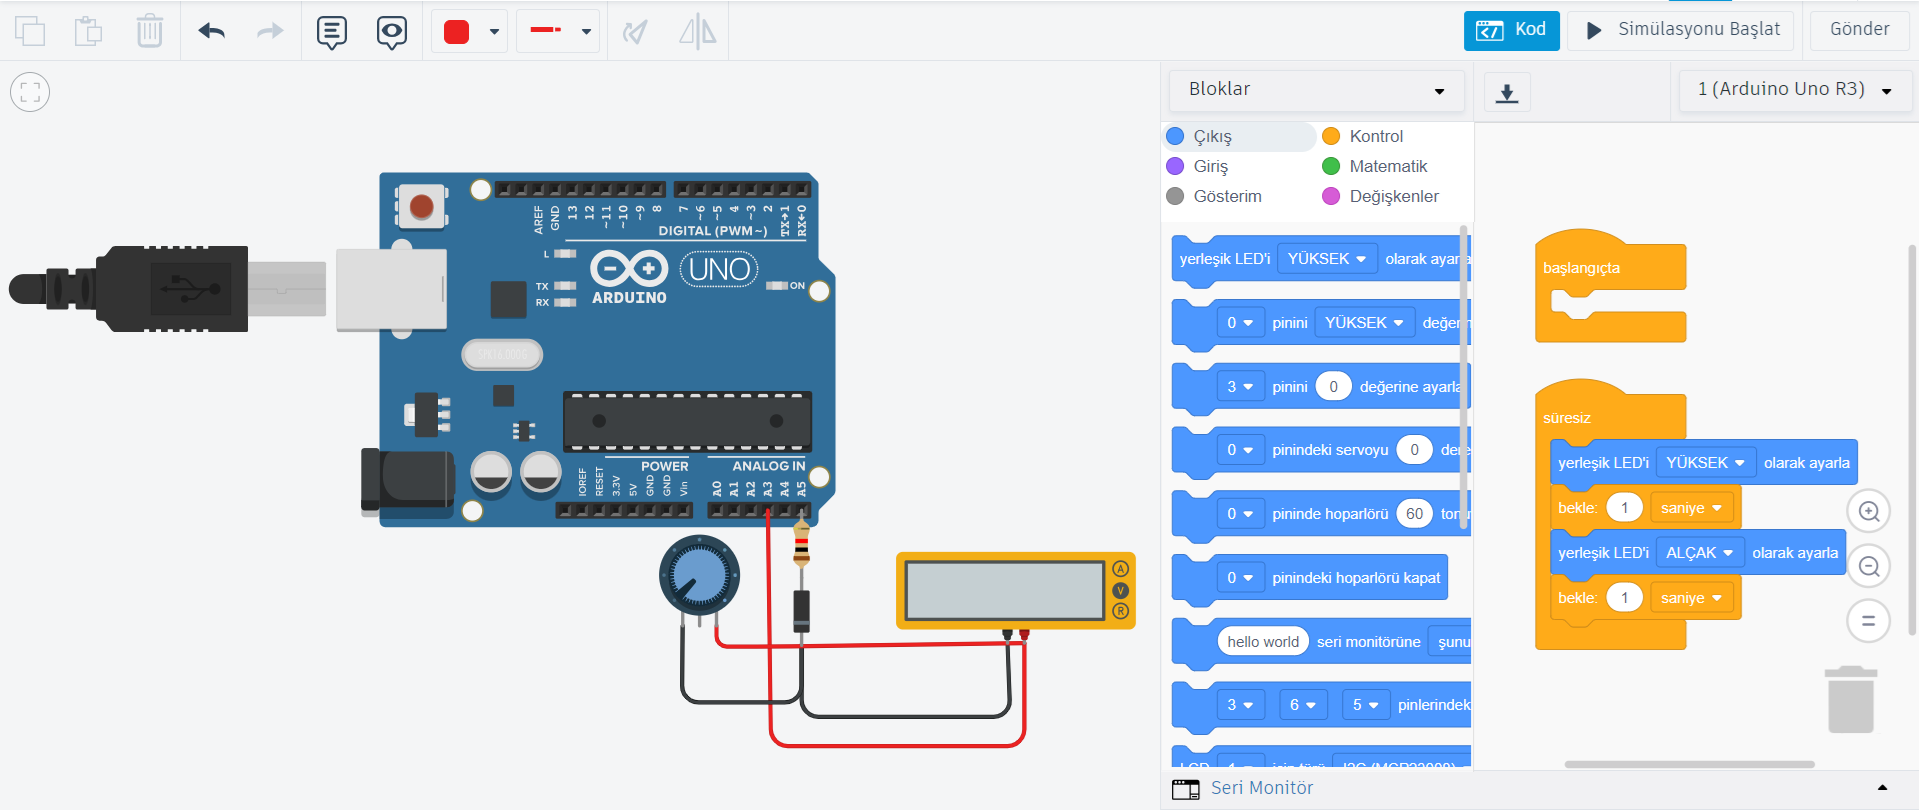
3. Coding: Blocks and Text-Based Programming
Tinkercad Circuits allows you to test not only your hardware but also your software development skills. Thanks to the "Code" tab, you can program using two different methods:
- Block-Based Coding: Visual drag-and-drop blocks for those who want to understand algorithmic logic.
- Text (C++) Based Coding: Software freedom for those who want to experience a true Arduino IDE experience.
Here's an example code block you can use for a simple Blink (LED Blinking) project:
void setup() {
pinMode(13, OUTPUT); // Set pin 13 as output
}
void loop() {
digitalWrite(13, HIGH); // Turn on the LED
delay(1000); // Wait 1 second
digitalWrite(13, LOW); // Turn off the LED
delay(1000); // Wait 1 second
}
4. Step-by-Step Project Development Process
To create a successful engineering project on Tinkercad, you can follow these steps:
- Planning: Determine what problem the project will solve and what components you will need.
- Design: Place the components on the breadboard and make the connections.
- Coding: Create your algorithm and integrate it into the code tab.
- Simulation: Watch the circuit work by pressing the "Start Simulation" button.
- Debugging: If the circuit is not working, read the data from the serial monitor to find the error.
Conclusion
Tinkercad Circuits is a tremendous platform that combines the visual aspects of design, the analytical structure of engineering, and the functionality of coding. Whether you use it for hobby purposes or for the preparation of your professional projects, this tool will take you to the next level.
If you have any content you would like to mention or technology resources you would like to share, you can reach us via the contact section. Stay connected with technology!